Have always wanted to try water-marbling my nails and today I finally had the time to do it!
Now that I have finally figured out the whole process, it probably wouldn't take me very long to replicate it. However, it took me almost an hour of trial and error today.
Here's what works:

Start with a small cup of warm water (the smaller the cup, the less nail polish wasted)

and nails with a basecoat and one layer of a neutral polish (I used a Revlon basecoat and an Essie polish)

Choose at least two colors of polish for the design

Drop dots of polish into the water, each inside the last (the circles will expand as more dots are added)

Drag a toothpick or orange stick through the polish, carefully avoiding dipping it into the water

Tape around your nail (if desired) for easier clean-up then submerge the nail into the cup. Aim for the part of the design you want on your nail. Dip your entire finger into the water and use a toothpick/orange stick to circle your finger and pick up excess surrounding nail polish. Repeat the process for each nail
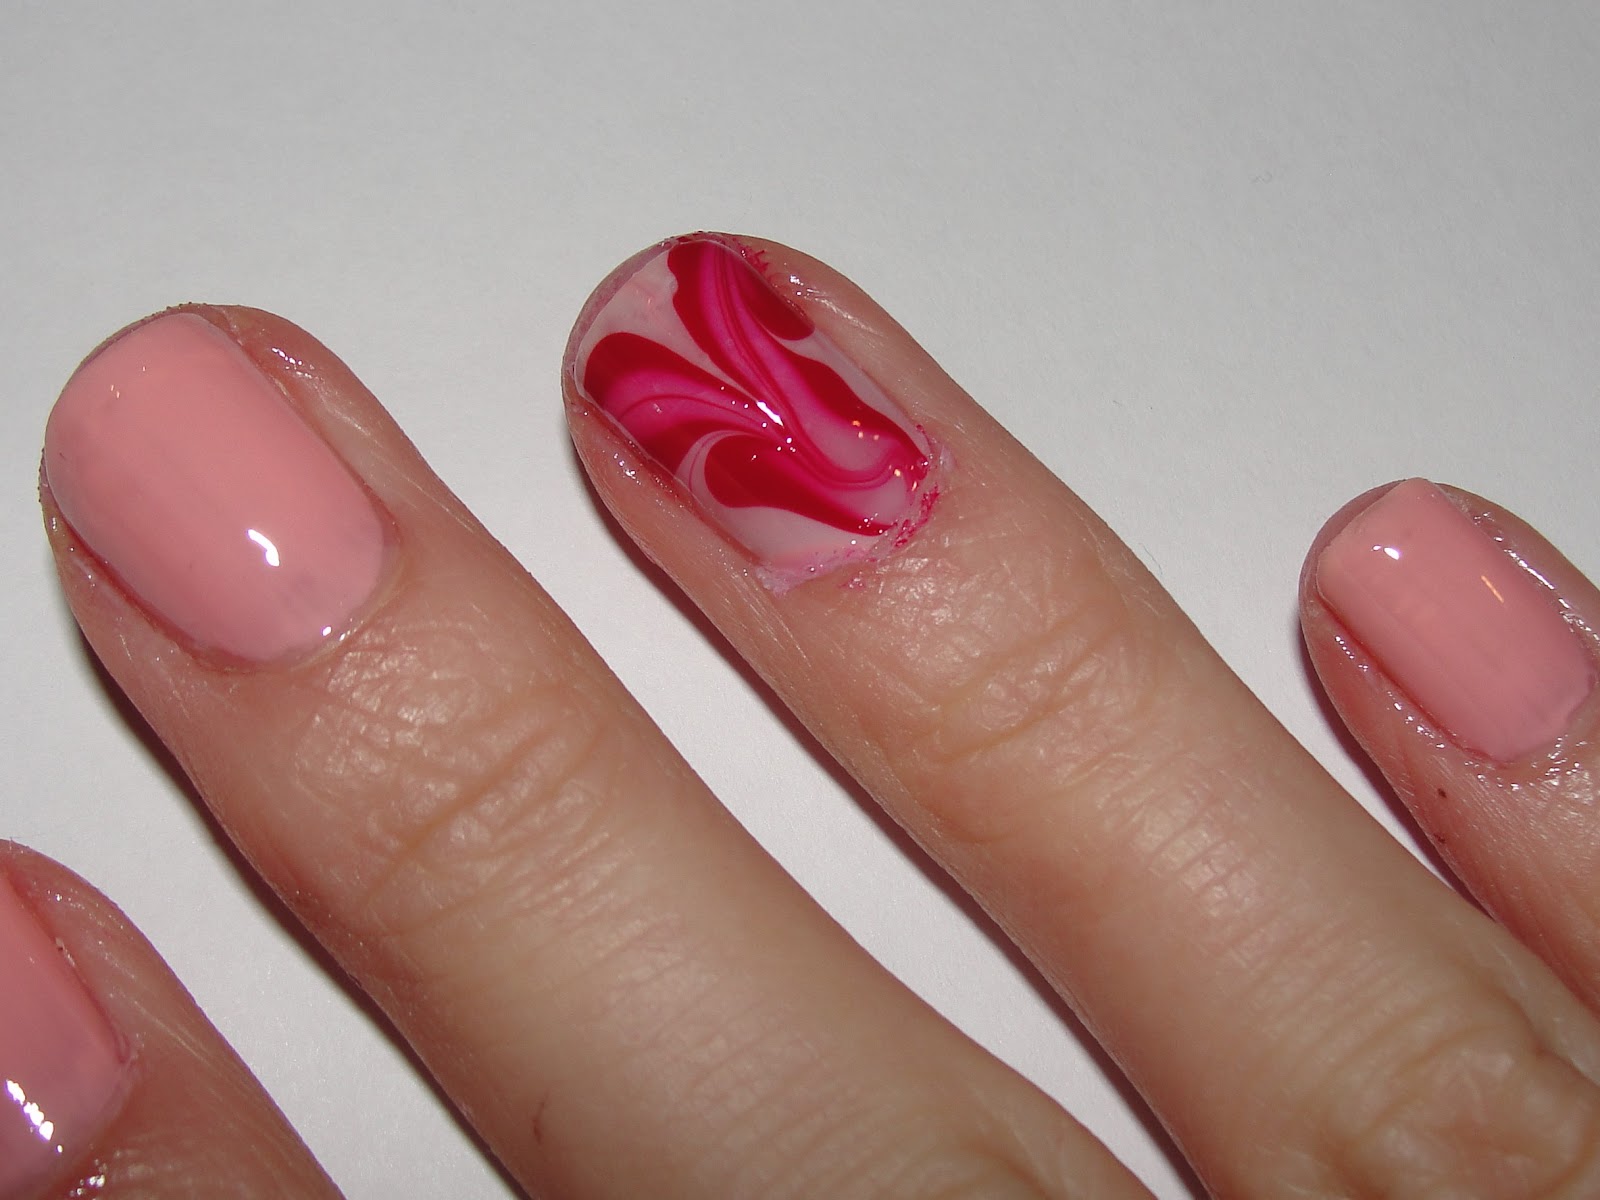
The end result! Honestly not as hard as it looks, just make sure to keep the water warm and use relatively new nail polishes. I tried with older ones and the drops just sank into the water, not spreading out like necessary.
That is SO SO awesome!!
ReplyDeleteAh this is too cool!!!! I so want to try this. Hope I can pull it off. Thanks for the tutorial :)
ReplyDeletethanks for great tutorial, I will try this for sure.
ReplyDeletehttp://aprettylife13.blogspot.com/